How Lazy Am I?

How are you adjusting to this strange new world? I finally settled into the working from home drill when the government announced school was heading back in a limited capacity. Now that I’ve wrapped my head around my new in-class routine, I thought I’d get back to posting before New Year’s rolled around!

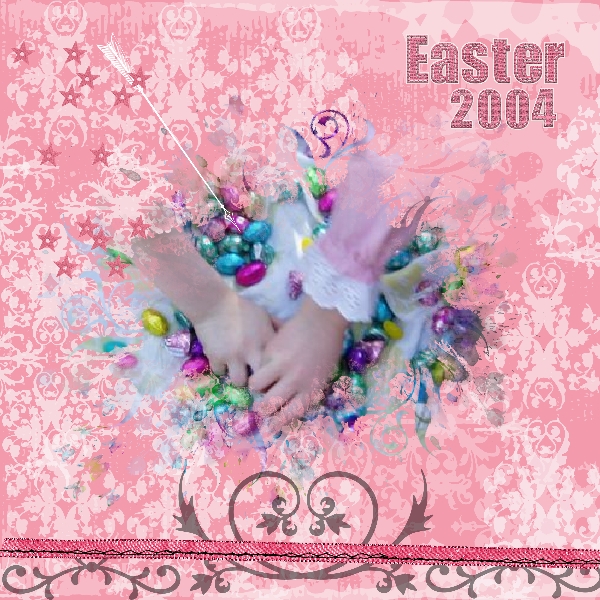
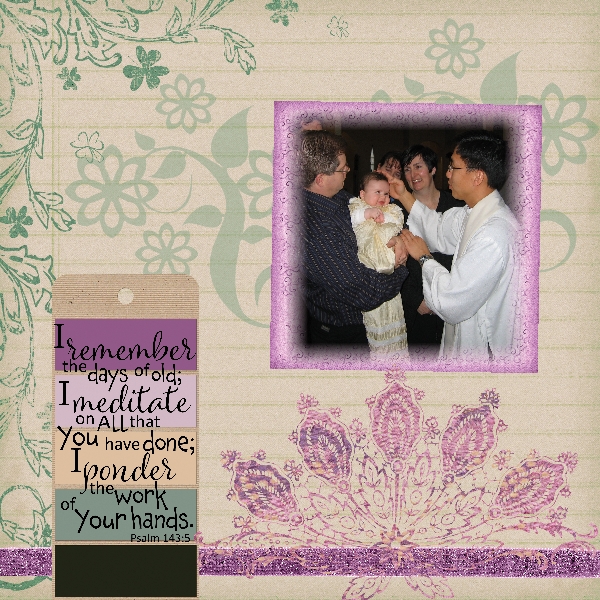
One of my new favourite challenges on the My Memories forum is the faith challenge by Lori Imel. She provides a Bible quote and you create a scrapbook page around it. As you have probably learned, I procrastinate a bit (not at work though, which is interesting) so I have finally scrapped my littlest one’s Baptism. She is almost fourteen.

Okay, to be honest the very first scrapbook page I ever created was about twelve years ago and was a Baptismal page which featured all three of my girls. They wore the same gown which has been handed down from my husband’s side. Their great-grandmother and her brother were Baptized in it, as was my mother-in-law, all three of her kids, and two nieces and two nephews. However, my girls are the first Catholics to wear the dress. Maybe one day I’ll get around to posting that page up here, but as it’s not digital…

MMS Challenges-007

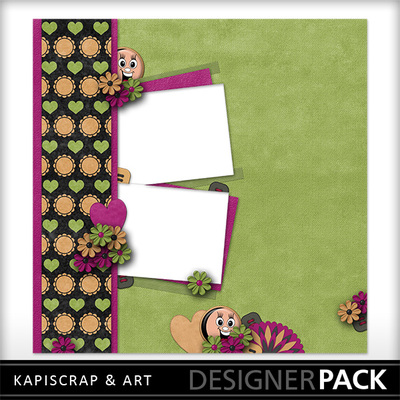
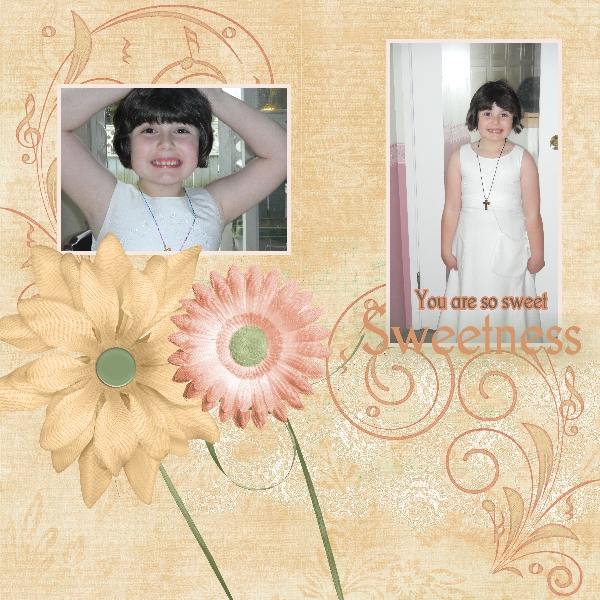
I was inspired to create another Sacramental page featuring the same kid on the occasion of her First Holy Communion. Not for Lori’s challenge but for a blog train challenge to use the great bits I collected. I guess now I need to make a three kids, one dress page for this Sacrament as they wore their cousin’s dress. Let’s see how long until I finish that one.

MMS Challenges-010

By the way, I managed to complete my CK-12 certification ages back. I actually finished two days after my last post and managed to procrastinate posting about it!

“Never put off till tomorrow what may be done day after tomorrow just as well.”
― Mark Twain

Digi-Mom

The screensaver on our computer is a slideshow of photos I’ve taken over the years.  You would think as someone who scrapbooks that I’d have done more with those pics but no, they’ve stayed in digital form. Thankfully,  when I decided join in on the My Memories digital scrapbooking challenges, I had plenty of pictures to choose from.

The picture used on this page is now sixteen years old! I only had given birth to one kid at that point but was featuring a very full belly as my second arrived a month later. In the shot is my eldest daughter’s hand and that of  her cousin, putting candies into a pile. We gather with my family for Easter brunch every year, except this one, and after eating the kids go play while the Easter Bunny hides chocolate treats. Then when all the goodies have been collected, the kids dump their findings into a big pile and watch eagerly as someone divides the sweets evenly between them.

The one requirement of this challenge was to use the free digital papers and embellishments given away during March’s blog train. Every month, there is a colour palette selected and the various designers from My Memories create free items with those colours. Mid-month they post on their blog pages and you hop from blog to blog  collecting the goodies. I’ve already hopped on board April’s blog train and am eager to get started on the next challenge presented by Over The Fence Designs.

MMS Challenges-006

Another challenge I’m planning on joining each month is called Follow the Recipe presented by Connie Prince. Essentially there are required items that your scrapbook page must include.  February’s recipe was:
-3 or more papers
-2 hearts
-1 flair
-1 ribbon
-1 scallop or lace border

My version was closely based on the “inspiration” page Connie provided which consisted of only one photo and although I quite liked how mine turned out, I wanted to include all my babies.

IMAGES TEMPORARILY REMOVED AS PER AGREEMENT WITH CSM, WILL REPOST ONCE PUBLISHED IN SPRING 2021 ISSUE!!

Amazingly, I’ve completed eleven challenges this month, four in March and one in February.  One of  my favourite things about digital scrapping is that you can easily add or delete photos or elements and move them around without making a mess…there’s enough of that in my house as it is!

“A picture is worth a thousand words, but a scrapbook is worth a million memories.”

Remedios Lina C. Villarosa-Garcia

Wow…my site’s still alive!

Ha, holy cow, it’s been 3 1/2 yrs since I posted last and this beast is still up and running! Honestly, I’m going to try and post at least twice a year – snort!

But if you’re still out there folks, here’s one of those freebies that  I used to post more frequently back in the old days. Links are valid until January 7th.


Inks & Thinks isn’t the only thing I’ve been neglecting to update. My Goodreads feed shows a book I finished back in Sept and I’ve read tonnes since then…but, you guessed it, haven’t updated that either! And although things have changed since my last, long ago post, I still love quotes, so here goes.

“For a really long time, I thought being different was a negative thing. But as I grew older, I started to realize we were all born to stand out; nobody is born to blend in.”
Halima Aden

Yikes!

Just realized that I haven’t posted in almost a year! Clearly my time is going by very quickly. Can’t say that I’ve accomplished anything major in the past year or even created any cards/scrap pages worth posting. Guess I should clean my craft area and get back to it.

In the meantime, here are 3 freebies for you.

KS_SplashNSpring_QP1_PV1

PaintedWaterfalls

Preview

I hope you can make good use of them!

It takes a long time to bring the past up to the present.
FDR

Long time no post

Hi all,

It’s been ages since I’ve posted…not much to say I guess. Anyhoo, I was going through my uploaded photos and found a few that weren’t attached to any posts so I thought I’d show you a couple. Never mind that the wedding card I’m posting was made so long ago that the bride and groom have a bouncing baby boy already! I used the bride’s chosen colours for this.

dsc_0156.jpg


DSC_0159

So here they are after over 1 and a half years!

Hey, if you are into digital scrapbooking and would love a free kit go to Design House Digital for their great blog hop and collect the coupon code letters on the way to download a beautiful kit for FREE!

Now I must go, see you in a few days, weeks or months, I can’t really say!

“I have great hopes that we shall love each other all our lives

as much as if we  had never married at all.”
Lord Byron

Mmm…pie!

Hey, here’s another freebie for paper crafting thanks to mymemories.com  but only until Jan 14th!  Although these say they are for pie, seriously, do you have anyone you love so little that you’d just give them one slice?  Once filled with cool things, they’d be great as a goodie bag for a girls’ party or a teacher gift.
Pie Box Tutorial
1. Print your file on cardstock. To create a pie box, you will need one base and one top. Gather necessary supplies. (Recommended supplies: ruler, scissors, glue, bone folder with pointed tip) Be sure to set your margins as close to zero as possible when printing.
pies printed
2. Using the bone folder score from the top tip down to each of the corners.  There should be 3 fold lines forming a triangle on each piece. Also,
score the small tabs on the box sides.
pies scored 2 pies scored
3. Cut out all of your box pieces.
pies scored

4. Fold on the fold lines. Folds should all be folded in towards the white side of the paper.

pie folded

pie cut

5. Place glue on all the small flaps.

pie edges

6. Bring base and flap up and glue in place. Repeat all sides.  Repeat Steps 5 and 6 for lid.

pie base

7. Enjoy your pie box.

pie finished

8. Multiple boxes can be made to look like a pie by placing the centers together.

pies together

Detailed instructions are thanks to mymemories.com

“Good apple pies are a considerable part of our domestic happiness.” Jane Austen

Last minute decor freebie!

Looking for a quick decoration for Christmas?  Here you go:

http://www.mymemories.com/store/share_the_memories_kit_1

Star 1

http://www.mymemories.com/store/share_the_memories_kit_2

Star 2


http://www.mymemories.com/store/share_the_memories_kit_3

Star 3


These are free downloads but the stars are only available ’til the 10th so get them NOW!  These 3D Stars are great to hang as decorations on stairs or shrink them down and use them to decorate your Christmas Tree.

The key to these stars is to make sure that you have a total of 10 cone shapes to put these together. You can mix and match the patterns, but you need 10 of the same size to get a finished 3D star.


“I love the stars.
Because they can’t say anything.
I love the stars.
Because they do not judge anyone.”
―    Natsuki Takaya

Cool cupcake wrappers

Here’s a great freebie for those of you who like to pretty up your summer treats.  If you have the right software, you can even make your own personal touches.  If you don’t have any software that will work for these, you can download them just as zip files.

If you are looking for a cheap ($39.97 US) but good scrapbooking, card-making software that you can use these with I can give you a code to get $1o off the software, My Memories.  If you use this code to purchase the software, you will also get a code worth $10 to spend at mymemories.com so you can get some cool digital downloads to work with. (You can find the code in the right hand column of my blog.)

http://www.mymemories.com/store/share_the_memories_kit_1  Click here to get the July 4th topper.

http://www.mymemories.com/store/share_the_memories_kit_2   look like these:

The last one is quite elegant.

This can be found at: http://www.mymemories.com/store/share_the_memories_kit_3

Using MyMemories Software to Customize your Cupcake Liners

  1. Download template file and install it into your software
  2. Using MyMemories Suite, choose Create Album From Designer Template and find your project
  3. Now you can print and enjoy the provided template, or customize it with your own papers and embellishments.

TIP: You can right-click on the white guide and lock it in place to keep it from moving while you are working. Make sure this is the top layer of your project before printing. Instead of adding the paper as a background paper, you can add it as an embellishment so that you can move the paper around.  This is especially useful when using papers with stripes or circles, so you can decide which part of the paper you want to use. Once it is added as an embellishment, you can now select the paper and move it into the position you want it.  Just SAVE and PRINT on cardstock!

Cupcake Liner Tutorial

1.  Purchase or bake and cool cupcakes.  If cupcakes are frosted, place in refrigerator and chill cupcakes before putting liners on.  It is easier to put liners on if the frosting is cold. 2.  Print your cupcake liner templates on cardstock and gather supplies.  Each printed page will have enough supplies for 2 cupcakes. (Recommended supplies: small craft scissors, tape, foam squares, 1.25″ circle punch, toothpicks and ribbon)
3.  Using the scissors cut along outside line. TIP: Use a 1.25″ circle punch to cut out the toppers.  If printed at full size, the circles should be exactly the same size.

Cut out Pieces

4.  Wrap liner around cupcake and tape at seam. TIP: If using a smaller cupcake, just wrap around at the desired height. You can place a smaller cupcake at the bottom of the liner or make it tighter and wrap it around at the top.

Wrap liner around cupcake
5.  Using foam squares or tape, attach the front and back circles together to form the topper. Insert toothpick between the circles.

Topper instructions

Cupcake topper
6. Add ribbon onto the toothpick or at the bottom of the front circle, if desired.

Add Ribbon

7.  Insert toothpick into cupcake.  Enjoy the finished cupcakes and share.  Don’t forget to use your imagination.

Finished cupcakes

If you do decide to purchase the software, the code to use is: STMMMS89083

“When you look at a cupcake, you’ve got to smile.”

~ Anne Byrn